Resin Art for Beginners
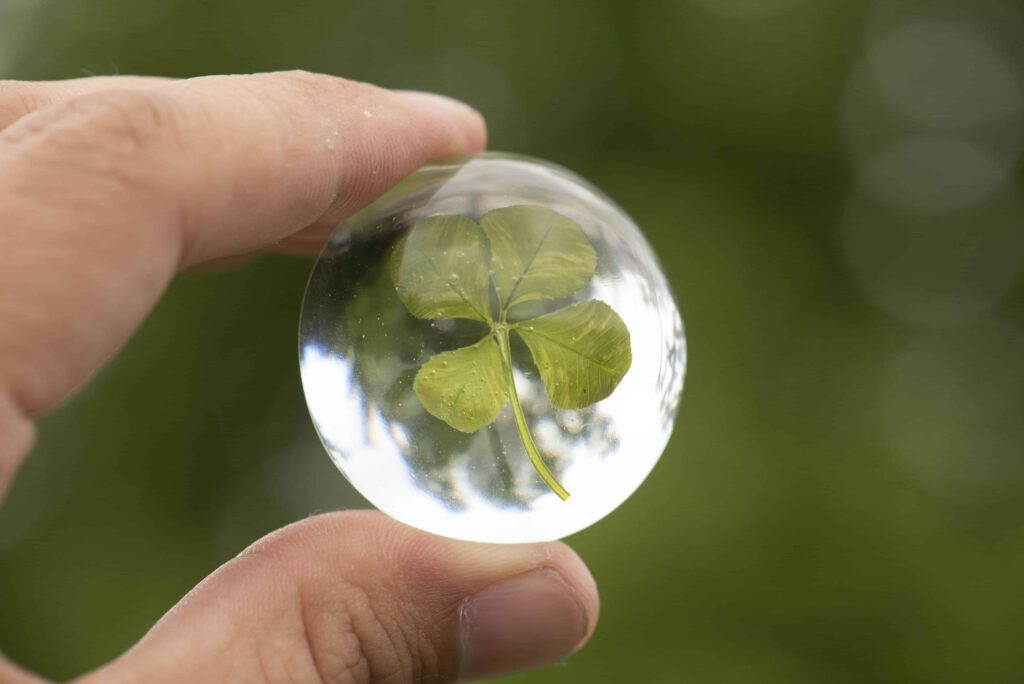
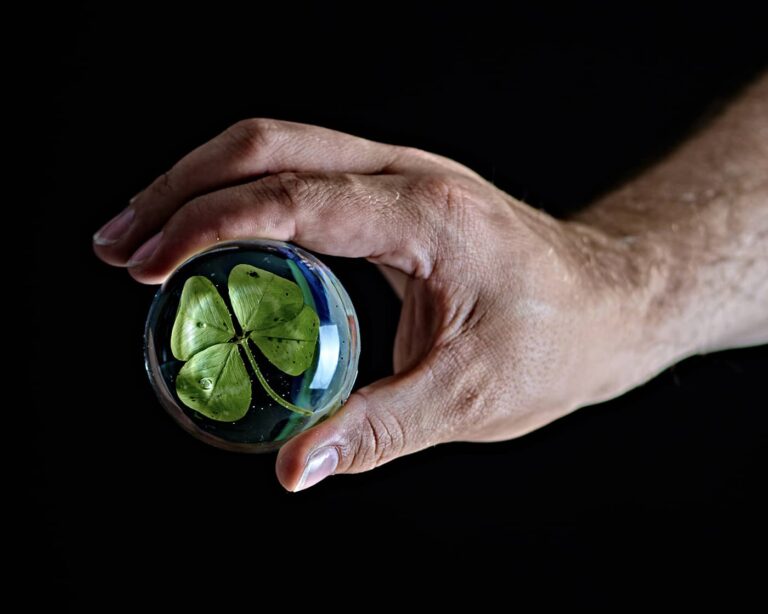
Some mastered resin art in school. Others learn about it at home. In my case I had been picking thousands of four leaf clovers from sidewalks in Seattle. I had been taking the clovers to Kinkos to laminate them. When I gave them away while walking through Seattle, the lamination just didn’t seem special enough for the gift of a four leaf clover.
One day after photography class at a community college in Seattle, I walked down to Pike Place Market. I saw Phoenix at her photography booth. In front of her she had laid out her best pieces of resin artwork.
I struck up a conversation with her about four leaf clovers and wanting to make resin art projects with them. She offered to teach me resin art and I gave her some clovers to order some custom made pieces with them as examples from her.
This article is me paying it forward from everything I learned from Phoenix and the knowledge I gathered from my own trial-and-error. Phoenix is also an incredible photographer. At the bottom of this page is a link to her site.
Supplies You Will Need
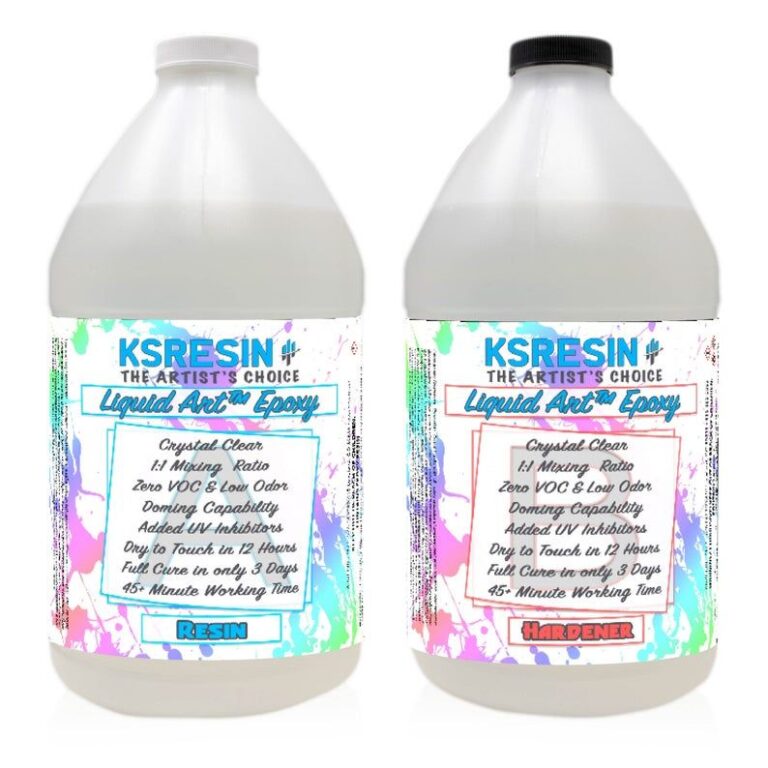
Resin
I use Art Resin® and KS Resin®. Any resin that has a 1:1 ratio between clear epoxy resin and hardener will work.

Plastic Disposable Cups
I use glass beakers for repeated use or wide mouth jars I can throw away after a single use. Clear plastic cold beverage cups work as well. Make sure you can accurately measure equal parts of resin and hardener in your mixing container.
Stir Sticks
I use silicone or glass stir sticks.
Plastic Gloves
I use a latex, vinyl, or nitrile. Avoid getting resin on your skin; it can be difficult to remove. The best option is soap and water. Other than that it will wear off with time.
Paper Towels
I use these to wipe down stir sticks, clean beakers and small resin spills.
Heat Gun
I use this to remove bubbles from the surface of my resin art or to push and blow the resin.
Butane Torch
I also use this to remove bubbles from my resin art.
Drop Cloth
I use a painter’s cloth to protect the area I work in from spills.
Toothpicks
I use these to pop bubbles in my artwork or to add features to my resin.
Dust Cover
I usually use a piece of cardboard to lay over the top of my resin art project while it is curing inside a box.
Alcohol
I use this in a separate room from anything with a heat source for cleaning beakers and hands.
Molds
I use a variety of molds. I like different shapes and sizes for different looks.
Level Working Area
I use a level and a very flat table with adjustable height.
The Process
Preparing Your Work Area
Set up your drop cloth to protect the area surrounding your level workspace.
Keep your work area clean.
I use butcher paper for a fresh clean surface for the beginning of each project.
Find a place to work where you can control the temperature and humidity. This will help with your curing process.
Cleaning Your Molds
You can clean your molds before using them to keep dust and dirt out of your project. I use a cleaner conditioner spray.
Mix Your Resin and Hardener
Measure your resin and hardener precisely so you have the same amount of each. When I combine them, I use a hot water bath to surround the container I am mixing with. Mix for three to five minutes based on the amount your are mixing and the directions from your resin manufacturer. Your fully mixed resin should be clear now. Bubbles created during mixing should rise to the surface where you can either pour them off or pop them with a heat gun or torch.
Pour Your Resin
When it is time to pour your resin into your molds, go slow and pour from the center of the mold. It is a good idea to pour more than one coat of resin for your project. Once you have poured your resin into all your molds you can use the torch or toothpicks to pop any remaining bubbles.
Cover Your Work
Use a piece of cardboard or plastic without touching your work to cover it while it cures.
Let Your Project Cure
Wait for your resin in your molds to fully cure. This is based on the manufacturer’s recommended time frame. I wait up to 24 hours for each pour.
Demold Your Pieces
When your pieces fully cure and you have done all the pours you want to do, you can remove them from the molds. Use gloves to do this.
Finishing Touches
You may want to polish your pieces. There are several methods for doing this. You can sand or file your pieces. Or you can use a polishing compound. It is up to you if you want to polish your pieces. If you feel they are complete from when you demold them, don’t do anything to them.
Phoenix and I share new tools, brands of resin, and ideas with eachother. Phoenix also lead me to KS RESIN. We both love KS RESIN.