Remove Bubbles From Epoxy Resin

There’s nothing more satisfying than demolding a piece to find virtually no imperfections from bubbles. It feels so good! Here are 10 tips to drub the bubble for crystal-clear prized pieces.
ROOM TEMPERATURE AND HUMIDITY (+/- 75°F)
I mainly do my resin projects during the warmest part of the year where I live. That ensures that my resin and my workspace are at a temperature of around 75 degrees. A warm but dry place is the best environment for your workspace.
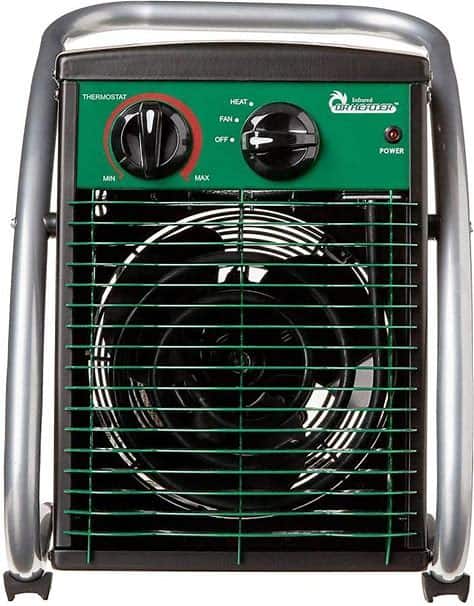
Space Heater
IDEAL WORK AREA
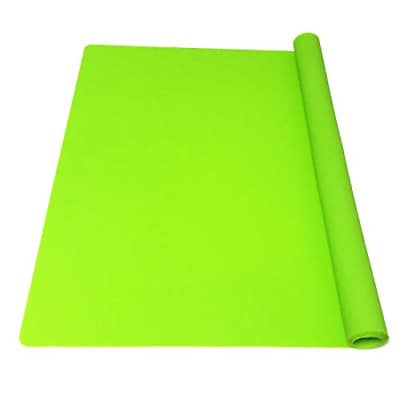
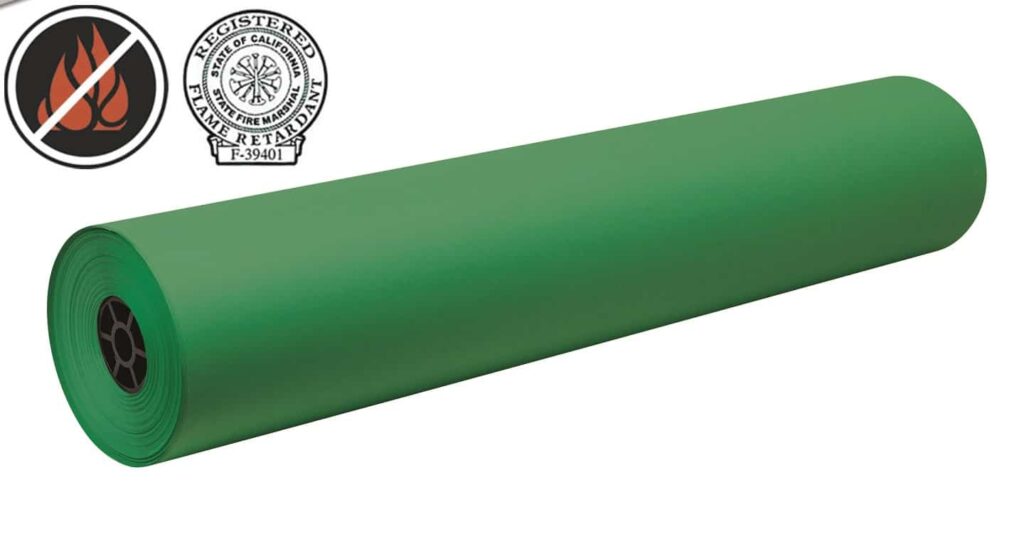
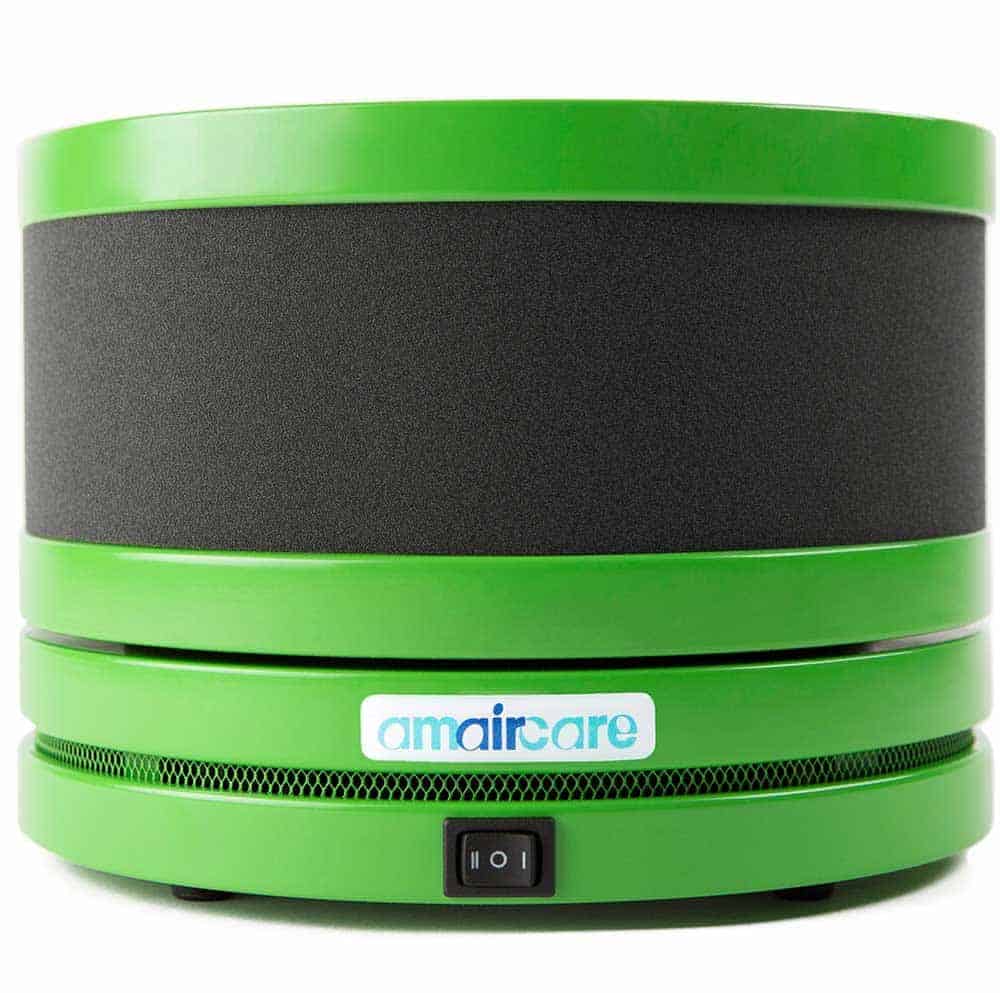
The first line of defense — but not always the most obvious is — how clean the area is where you work with your resin. Dust and hair are big obstacles when it comes to clear resin art. One option for removing these is an air filter. The best thing you can do to keep your area clean is to have flat and level surfaces with cleanable mats. Silicone works the best. I use rolls of butcher paper. You can throw away your mat or clean it. The neater your workspace is, the better. Having separate containers for your supplies really helps.
Silicone Mats
Butcher Paper
Air Filter
CLEAN TOOLS
Make sure the containers you are mixing resin in and pouring it into are completely clean. No residual resin from previous mixes or pours. No hair or dust. No material from a previous project. A vacuum or canned air, a good cleaner/conditioner spray should do the trick. Keep your molds and mixing containers completely clean.
Small Vacuum
Resin Mold Conditioner Spray

COLD MOLDS
When you start your project your molds may be room temperature or colder. To have them produce the best artwork and maintain them for the longest life possible you should make sure they are the same temperature as the resin you are pouring into them. This will create fewer bubbles and allow your pieces to cure at the same speed overall (depending on the depth of your pours of course).
One method for warming your molds is to use a heat gun or torch to lightly wave across the surface of your molds. If the mold is cold the corners may bubble while creeping towards the center, the warmest part. The manufacturer of your resin may have specific additional instructions on warming your molds.
Heat Gun

HOW YOU POUR MAKES A DIFFERENCE
The rate at which you pour your resin is very important. Slow pours create less bubbles. Don’t pour faster than you can see the resin coming up the side of the mold or the mixing container.
All my resin gets poured at least twice. First you pour into a mixing container. Pouring both the resin and the hardener down the side of the container you are mixing in will keep the resin from trapping air. The second pour is into the mold. You pour slowly into the center of the mold. As the resin rises from the center, gravity will pull it towards the edges of your mold.
Resin, like many fluids, will experience “surface tension,” which is the way like molecules tend to stick to one another. In other words, you cannot assume that the resin will automatically find its way into every nook and cranny. You need to break the surface tension. And the way to do that – while pouring slowly into the center with one hand – is to gently rock or roll the mold with your other hand.
Or, you can pour small amounts and roll the mold between small pours. Either way, you are using the power of gravity by gently, slowly rolling the resin around in the mold. And every time you break that surface tension, the resin displaces the air and a bubble is defeated.
This will affect the accuracy of your measuring and your mold may overflow if you pour too fast.
Beakers
Silicon Beakers
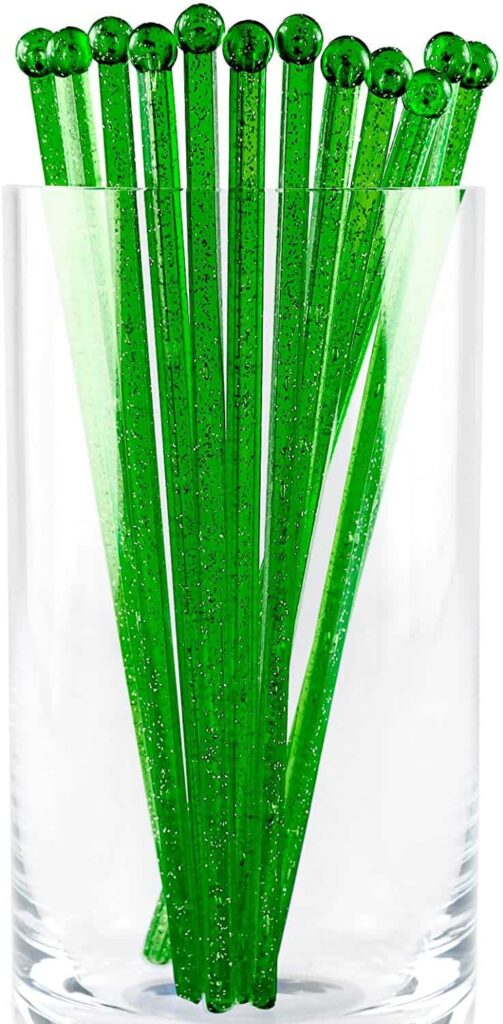
STIRRING STICKS AND TECHNIQUE
How clearly your resin mixes depends a lot on what you use to stir it. The most important part of stirring is keeping what you use to stir firmly planted at the bottom of the container while you stir. I prefer to use glass. Some people prefer to use silicone. The biggest culprit for a bubble is a stirring stick that is porous such as wood.
Silicone Stir Sticks
Glass Stir Sticks
MOLD SHAPES WITH SHARP EDGES
Another big way that bubbles form is after you have poured your resin into the mold. There may be sharp angles or edges in general to your mold. You will need to bring these specific bubbles to the surface so they can pop. There are a few methods for this. One common practice is to use a toothpick or pointed utensil. You simply insert the utensil into the poured resin gently teasing the corners of your mold and forcing the bubbles to rearrange and float upwards to the surface.
HEATING YOUR RESIN FOR MIXING
Warming your resin will encourage the bubbles to rise to the surface while you mix. There are a few methods for warming your resin for improved mixing. Be aware that these all will shorten the working time of your resin and cannot be interrupted once you start the process.
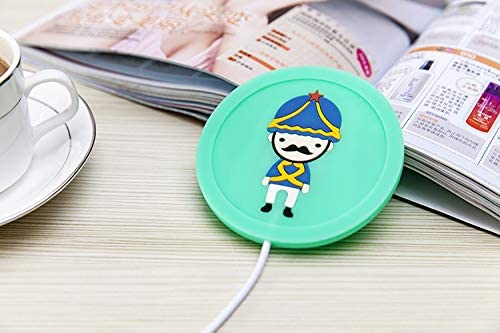
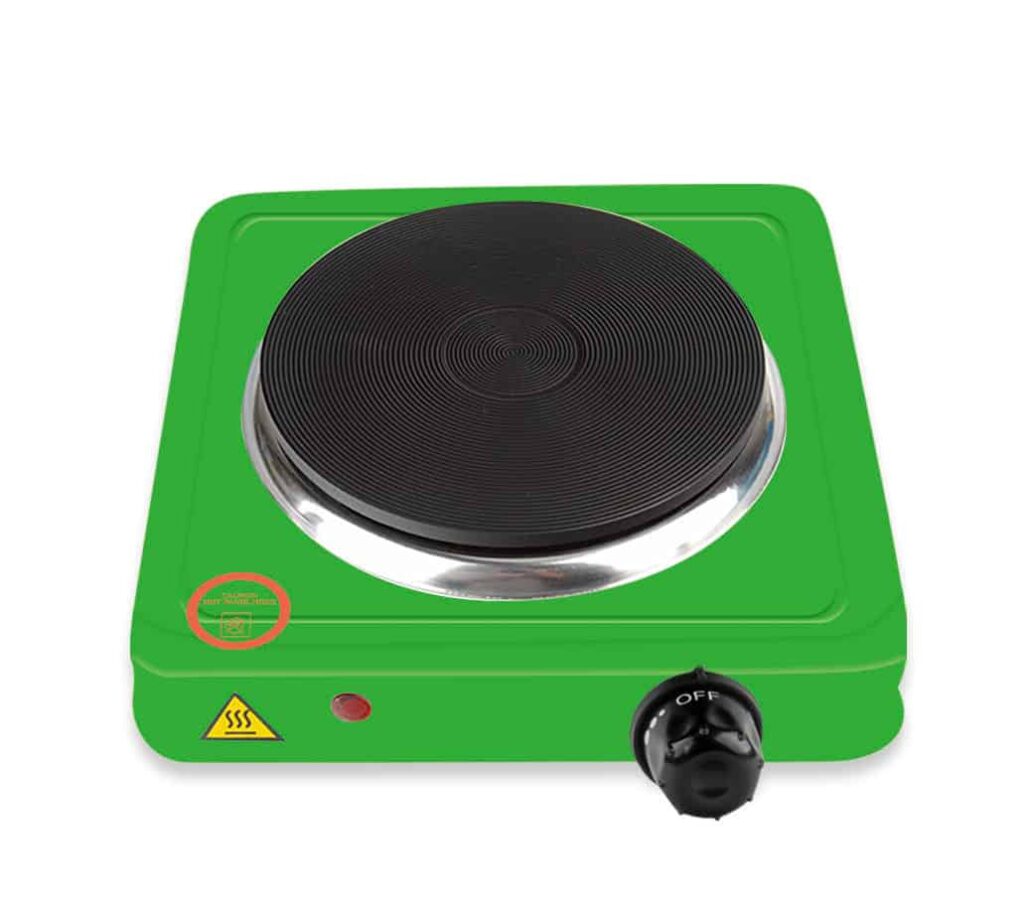
Some resins can be warmed in water baths while still in their containers before mixing them. Or, you can use separate bottles for warming the resin aside from the original bottle your resin comes in. Finding an appropriate sized container for the bottles to sit in with the water is important so that the water does not mix with the resin as it is warming. Resin + Water = Bubbles. You can use a different container for a water bath for mixing container while you mix. Another method is to use a heating device to set your mixing container on top of while mixing. A simple USB device works for small projects. A hot plate may be helpful for mixing larger quantities of resin. The any increase in the quantity of resin may shorten your working time also. Larger batches do take longer to mix and give you less time to work with.
USB Warming Device
Hot Plate
Water Bath Containers
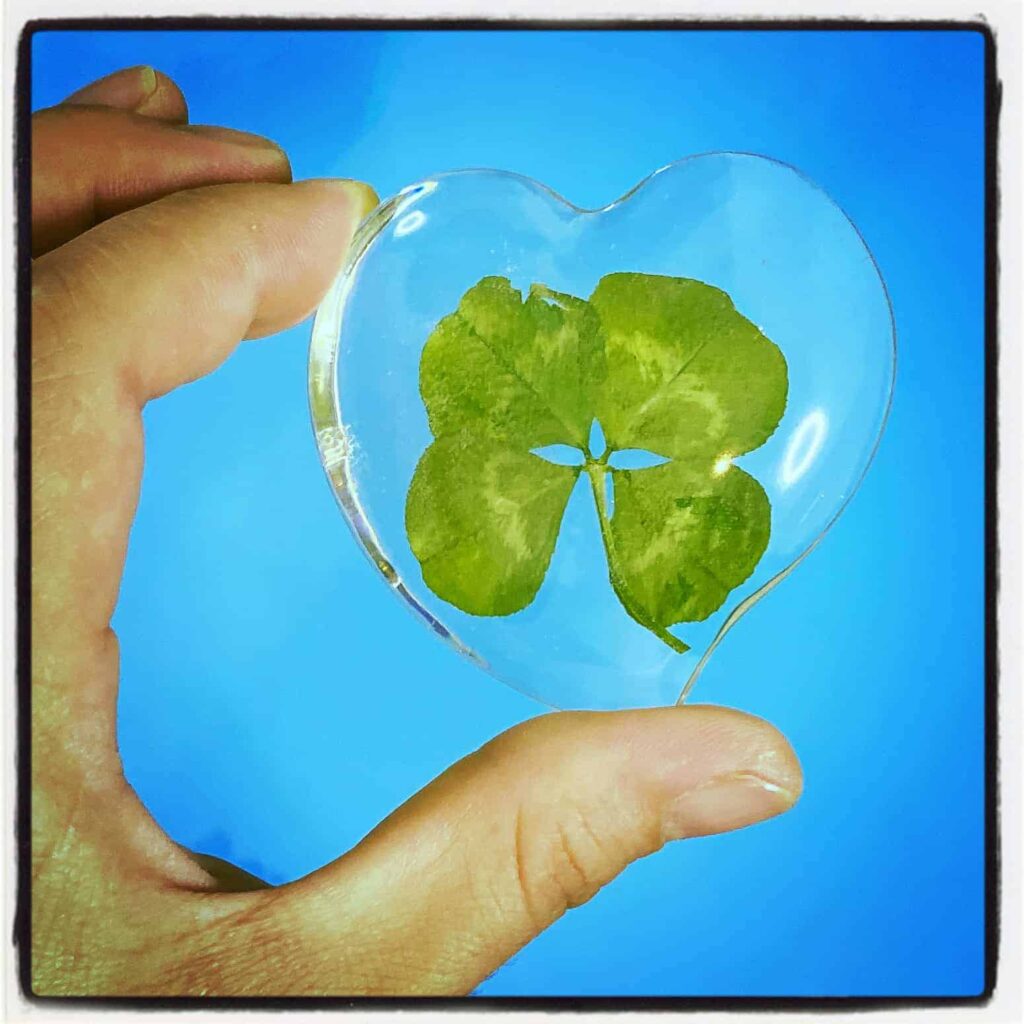
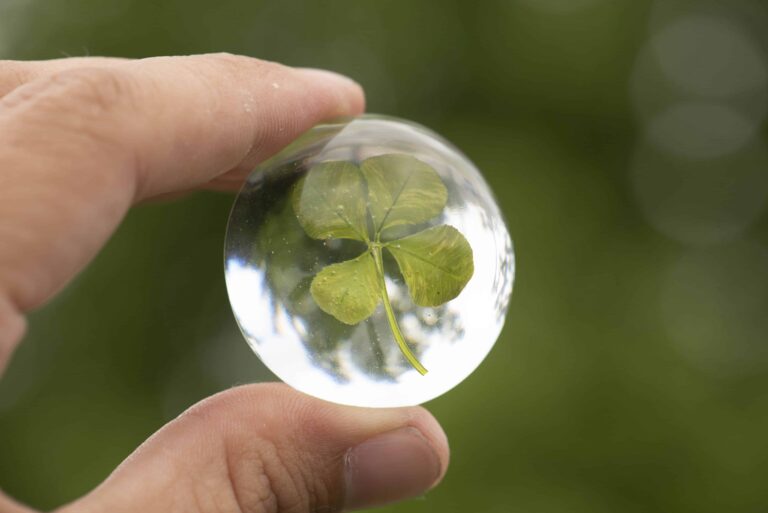
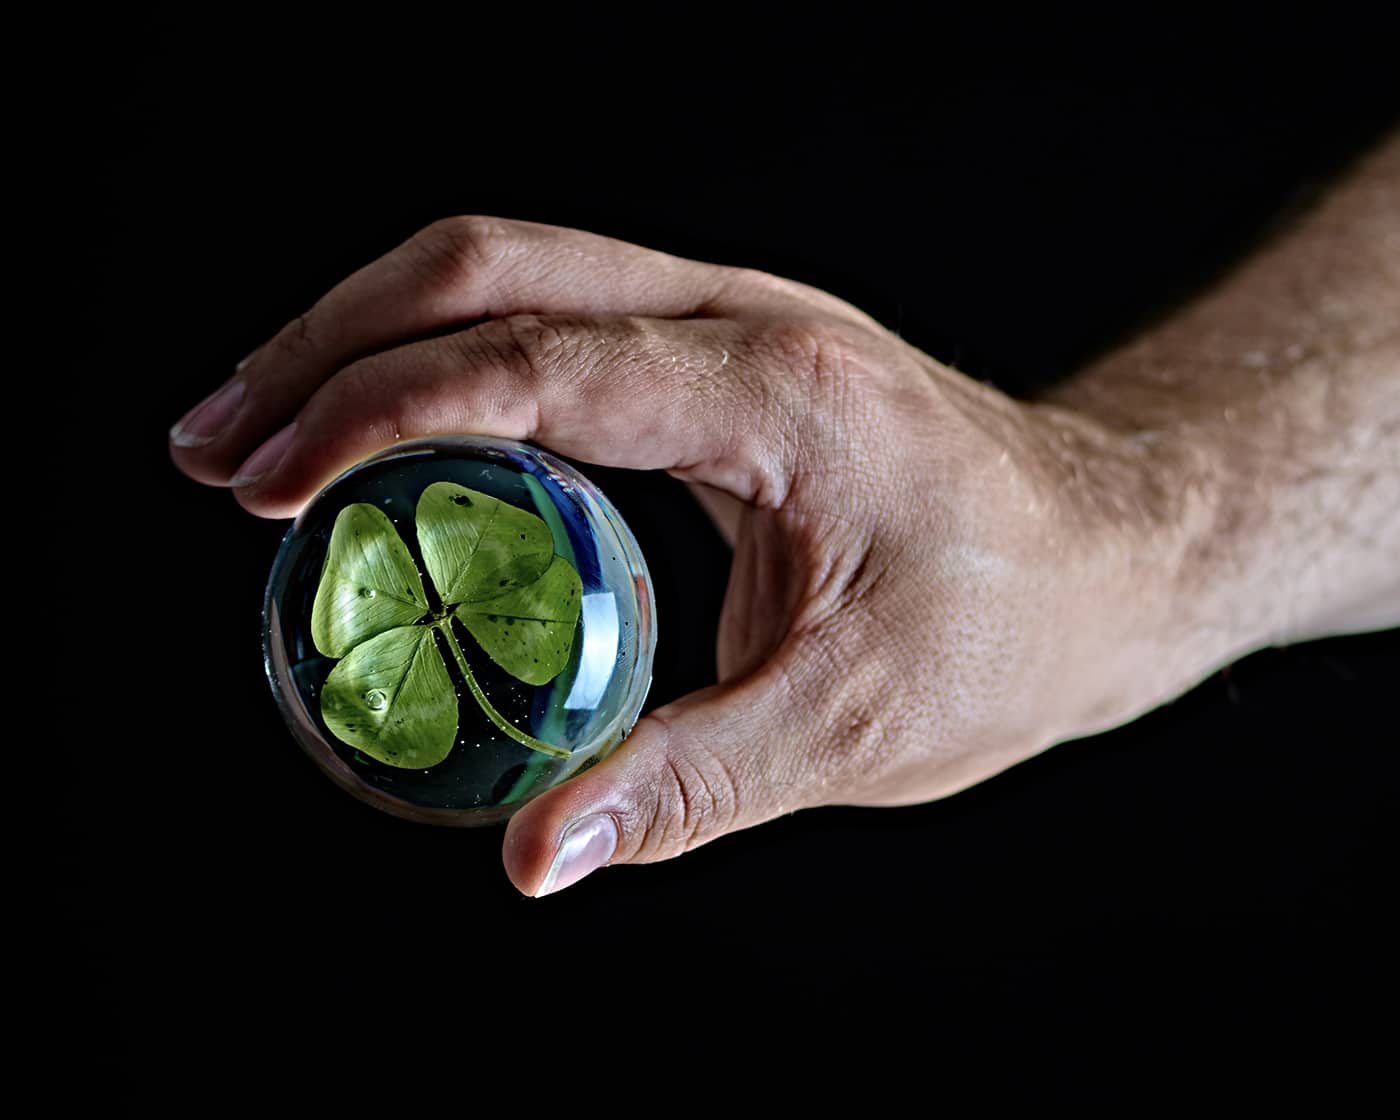
EMBEDDING ITEMS IN RESIN
Many resin artists embed items, such as plants, plastic, paper, fabric, metal, clay, wood, glitters, powders, and tints in their resin creations. Most things that you embed in resin are going to create or, trap underneath them, some bubbles. Any moisture should be avoided. Again RESIN + WATER = BUBBLES. Materials that are not completely dry will change color, usually brown even while they are cured in resin. Totally dry flowers will not have this problem. Anything iridescent will not keep its appearance in resin. I would definitely not use hair. A lot of materials used in resin are porous, so it is important to note what types of things are commonly used in resin. A way to get around porous objects forming bubbles is to coat the object in resin and let it cure for a day or so before embedding it in the resin. Also using several layers in larger or even smaller projects will allow bubbles to come to the surface. Once the bubbles come to the surface you can use alcohol spray if needed. Alcohol spray applied to the surface of the resin will pop the bubbles. Alcohol spray is flammable so don’t use open flame during this process. If you pour your layers carefully no seams will show. If you pour your mold full of resin in the first pour then it may not get all the bubbles out if they are really deep down or if the resin is completely surrounding your embedded material. Depending on the material a single pour may not be the best option. If you are not worried about sacrificing some of your resin or your materials you are embedding feel free to experiment with different objects.
Tints
Powders
STUBBORN BUBBLES
Some bubbles form or become apparent after you have solved all the other bubbles. This could be after you have walked away from your piece thinking it is ready to be left alone to cure. Checking on your pieces throughout the curing process is a good idea. If it is early enough in the curing process you still may have time to remove the more stubborn bubbles. To be able to more easily see the bubbles forming you may want to use a light box to set your molds on top of. If you are very careful you can use a syringe with a needle to remove individual bubbles. Breaking the surface tension of your resin during the pour may help with bubbles.
Lightbox
Syringe/Needle

From champagne to hot tubs, bubbles add quality to many things. But epoxy resin art is not one of them. Follow these 10 tips and you will be on your way to banning bubbles for clearer, stronger creations. Good Luck!